
Warning: These instructions work for my exact type of thermometers I’ve got. You might have totally different result, including your thermometer getting bricked, so don’t hold me liable for that (damages estimated at 6 dollars USA).
is me making a post after all this time a recession indicator?
So, we all know these guys, right? Cute little thermometery guys making faces at us depending on the climate in our abodes.
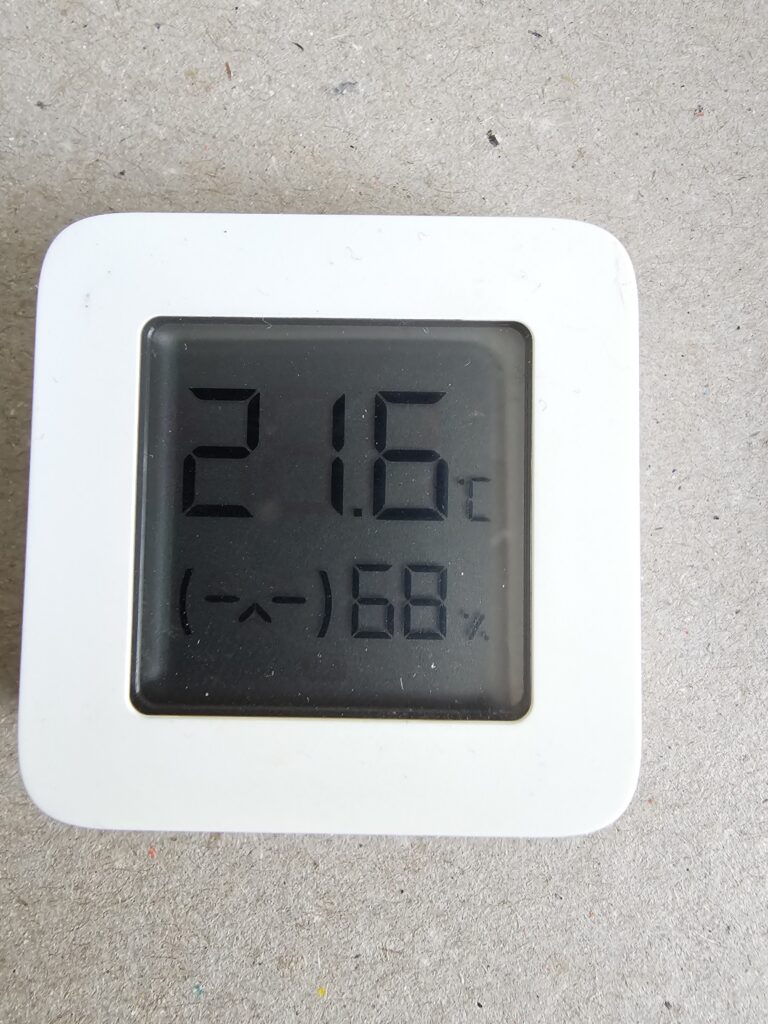
Cheap Xiaomi Bluetooth thermometers, that are decent because they’re cheap and decent. What if I told you that you can get them to report their readings over Zigbee instead?
What do you need
- A cheap Xiaomi thermometer, model number supposedly LYWSD03MMC, although they might have different innards
- A Bluetooth computer (or a smartphone) running a web Bluetooth-capable browser (so, Chrome or Chrome-adjacent)
- A Zigbee gateway that actually supports these (in my case, Home Assistant running ZHA through a ZBT-1 dongle)
- An Android/iOS device that can run Mi Home.
- Python 3 on your computer
- Potentially a way to unbrick a thermometer by taking it apart and hotwiring UART to it
- A little bit of time
The process
So, just to be safe, familiarize yourself with https://github.com/pvvx/ZigbeeTLc.
I assume that we’re starting with a brand-new, factory-reset thermometer, not bound to an account.
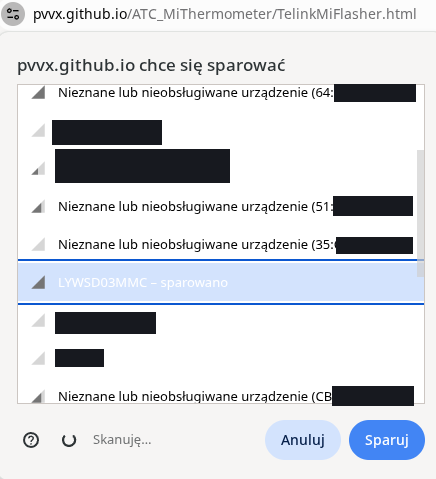
First, put the battery in your thermometer boy, then go to https://pvvx.github.io/ATC_MiThermometer/TelinkMiFlasher.html and click “Connect”. Select your thermometer from the list and let it pair.
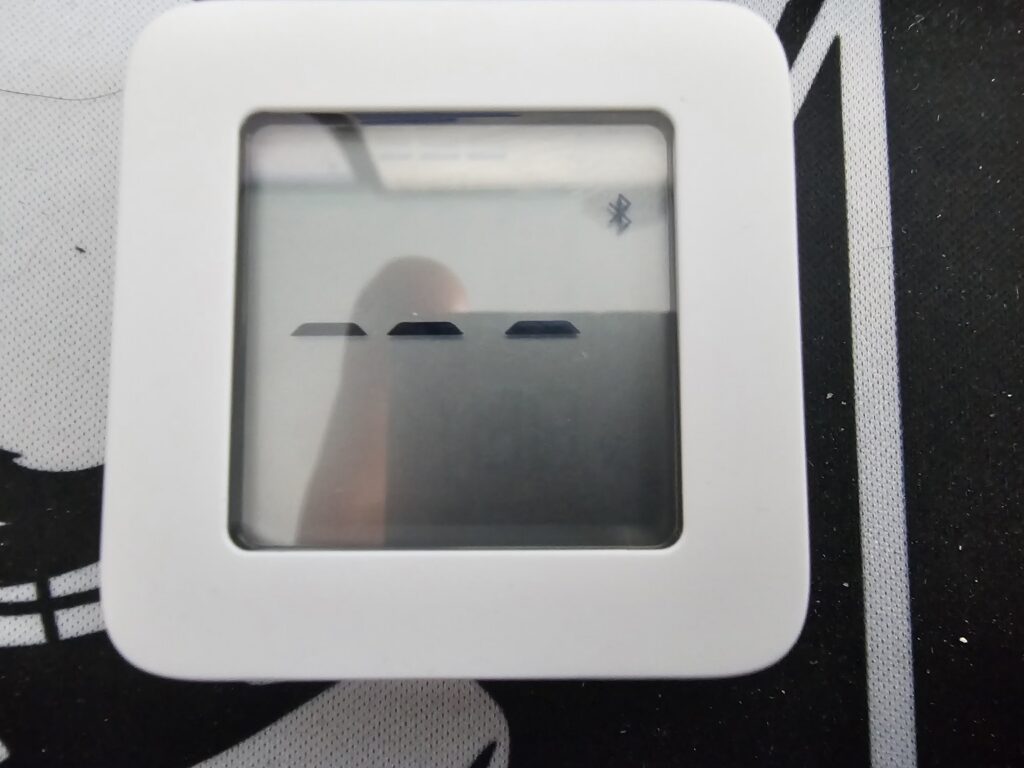
If the following is displayed, then we gotta pair the thermometer with the Mi Home app. Install it, then pair your thermometer. It doesn’t matter which room you add it to in the app. Close the web flasher first.

After the thermometer is paired in the app, we run the following to get our tokens: https://github.com/PiotrMachowski/Xiaomi-cloud-tokens-extractor. For Poland, the right server is de. Turn Bluetooth on your phone/tablet/smart fridge off.
![A screenshot from the cloud token extractor tool.
NAME: Mi Temperature and Humidity Monitor 2 2
ID: blt.[REDACTED]
BLE KEY: 7f[REDACTED]
MAC: A4:[REDACTED]
TOKEN: 5e[REDACTED]
MODEL: miaomiaoce.sensor_ht.t2](https://blog.cysioland.pl/wp-content/uploads/2026/04/image-2.png)
Now go back to the flasher. ID goes in the Device known id field, TOKEN goes in the Mi Token field, and where does BLE KEY go? That’s right, in the Mi Bind Key hole. Click “Login” when you’re done.

We then have to reflash our thermometer with the official firmware, because there can be many firmware versions hiding under the same version number.
![A screenshot from the flasher.
Select Firmware: [file picker]
Two buttons:
Custom Firmware: ATC_v57.bin
Original_OTA_Xiaomi_LYWSD03MMC_v2.1.1_0159c.bin](https://blog.cysioland.pl/wp-content/uploads/2026/04/image-5.png)
After it’s done, we have to reconnect and flash ATC_v57.bin. You can now turn Bluetooth back on on your smart device.
![A screenshot from the flasher.
[Start Flashing button] fw: 'bin/ATC_v57.bin'](https://blog.cysioland.pl/wp-content/uploads/2026/04/image-6.png)
Then we reconnect to it (under its ATC_ alias), and we’re presented with a dizzying list of options.
![A screenshot from the flasher.
Select Firmware: [file picker]
Four buttons:
Custom Firmware: ATC_v57.bin
Zigbee Firmware: 1141-020a-01353001-Z03MMC.zigbee
ZB Firmware: 1141-020a-00143001-Z03MMC.zigbee
Original_OTA_Xiaomi_LYWSD03MMC_v1.0.0_0130.bin](https://blog.cysioland.pl/wp-content/uploads/2026/04/image-7.png)
You’ve got two choices:
- If you only want Zigbee, flash the Zigbee firmware
- If you also need it to continue sending out temperature via Bluetooth LE, flash the ZB firmware.
We’re going with the Zigbee option.
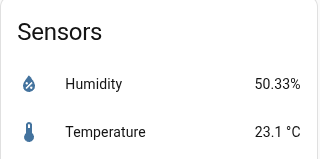
After flashing is done, you can open the pairing mode in your Zigbee gateway.

And that’s it.
If you’ve got any questions, comments, or whatever, then the comment section is for you. Bring your own fediverse account with you first, though.
Comments
3 responses to “How to Zigbeeize a cheap Xiaomi Bluetooth thermometer/hygrometer”
@Cysio do you get all configuration entities in ZHA? I contributed a quirk to ZHA some time ago so devices with that firmware should be supported natively with all features. Would be nice to get some feedback
Yep, a bunch of it with the comfort temperature and humidity ranges.
@tr4nt0r since WordPress is a bit flaky when it comes to comment replies I'll share it from my main
@Cysio